Mastering Dog Grooming with Thinning Shears: Techniques and Best Practices
Unlocking a Professional Finish: Your Guide to Thinning Shears for Dog Grooming
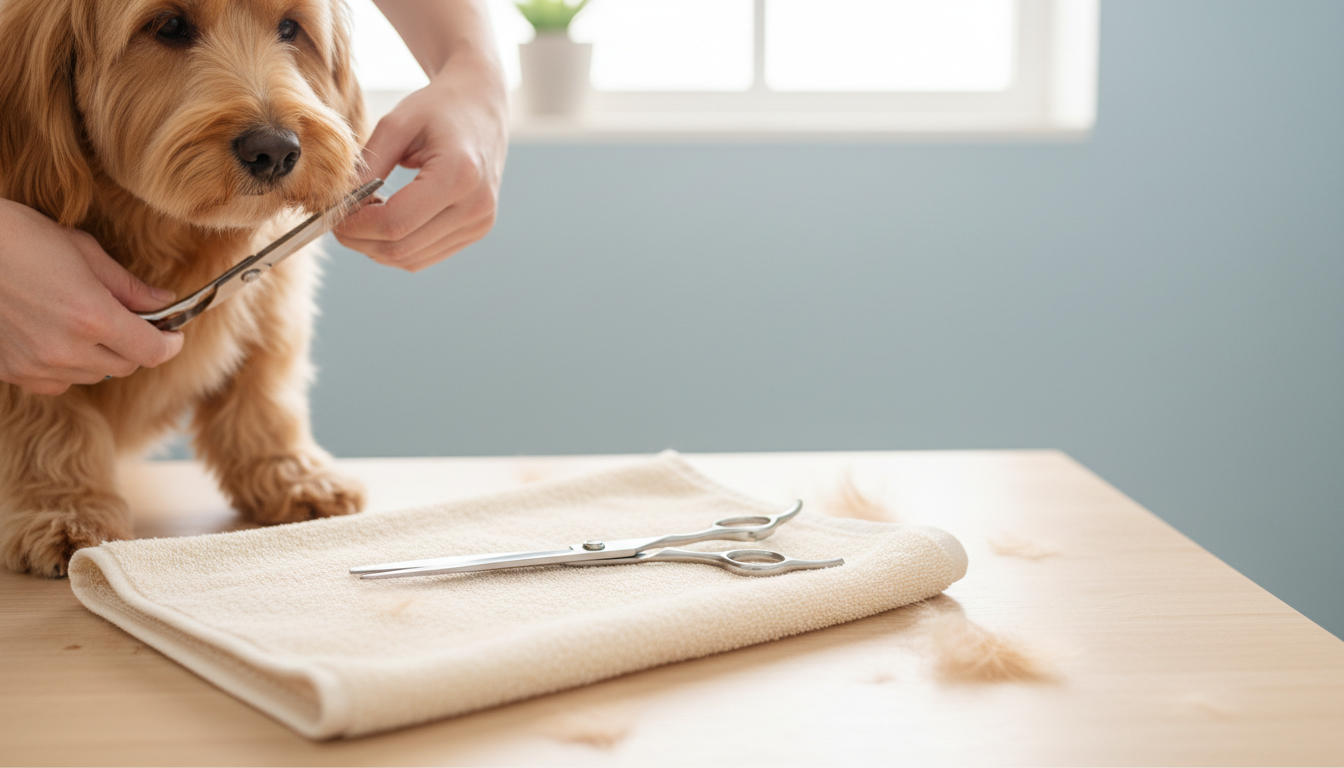
Achieving a polished, natural-looking groom for your dog often requires more than just straight scissors or clippers. Thinning shears are a specialized tool designed to refine a dog's coat, offering a subtle approach to fur reduction and shaping. Unlike traditional shears that cut a solid line, thinning shears feature one straight cutting blade and one blade with notched teeth. This unique design allows them to remove only a fraction of the hair with each snip, preventing harsh lines and maintaining a natural texture.
Their primary purpose extends beyond simple hair reduction. Thinning shears are invaluable for:
- Thinning out dense or bulky areas: Reducing coat volume without shortening the overall length.
- Blending different coat lengths: Seamlessly transitioning between clipped and longer sections.
- Softening harsh lines and edges: Creating a more natural, feathered finish around the face, ears, and legs.
This guide will equip you with the knowledge to confidently select the right thinning shears for your dog's specific coat type and grooming needs. We'll explore their unique benefits, proper application techniques, and essential care to help you achieve professional-quality results at home.
Why Thinning Shears Are Indispensable: Beyond Basic Trimming
While straight or curved shears are fundamental for length reduction and shaping, thinning shears offer a specialized capability that elevates a groom from basic to refined. Their unique design makes them indispensable for achieving a natural, blended finish that traditional shears cannot replicate. Unlike straight shears, which cut a solid line and remove a complete section of hair, thinning shears feature one standard cutting blade and one blade with spaced, notched teeth. This construction ensures that with each snip, only a fraction of the hair is removed, preventing the creation of harsh lines or obvious cut marks.
This selective hair removal is crucial for addressing common grooming challenges and enhancing a dog's appearance. Thinning shears are not primarily for shortening a coat, but rather for modifying its texture and volume. They are particularly effective for:
- Reducing Bulk: For dogs with exceptionally thick or dense coats, thinning shears can significantly reduce volume without altering the overall length. This is beneficial for comfort, hygiene, and faster drying times, especially in areas prone to matting or overheating.
- Seamless Blending: They are the primary tool for blending different coat lengths, such as where a clipped body meets longer leg or head hair. This creates a smooth transition, eliminating visible "grow-out" lines or choppy appearances.
- Softening Edges and Lines: On areas like the head, ears, and legs, thinning shears can soften harsh outlines, create a more natural, feathered look, and remove bluntness around the face, resulting in a more aesthetically pleasing and natural profile.
- Creating Natural Texture: Rather than a uniform, clipped finish, thinning shears help maintain or enhance a coat's natural texture, making the groom appear less "done" and more organic.
Dogs with thick, double coats (like many retrievers or Nordic breeds), curly coats (such as poodles or bichons), or those requiring sculpted, blended styles benefit most from the judicious use of thinning shears. They provide the precision needed to refine details and ensure the coat lays correctly, contributing significantly to a professional-looking and comfortable groom.
Choosing the Right Thinning Shears: Key Features and Considerations
Selecting the appropriate thinning shears is crucial for achieving desired grooming results and ensuring your dog's comfort. Understanding the specific characteristics of these tools will empower you to make an informed decision tailored to your dog's coat type and your grooming goals.
Understanding Tooth Count: From Blenders to Chunkers
The number of teeth on a thinning shear's blade directly influences how much hair is removed with each cut, dictating its primary function.
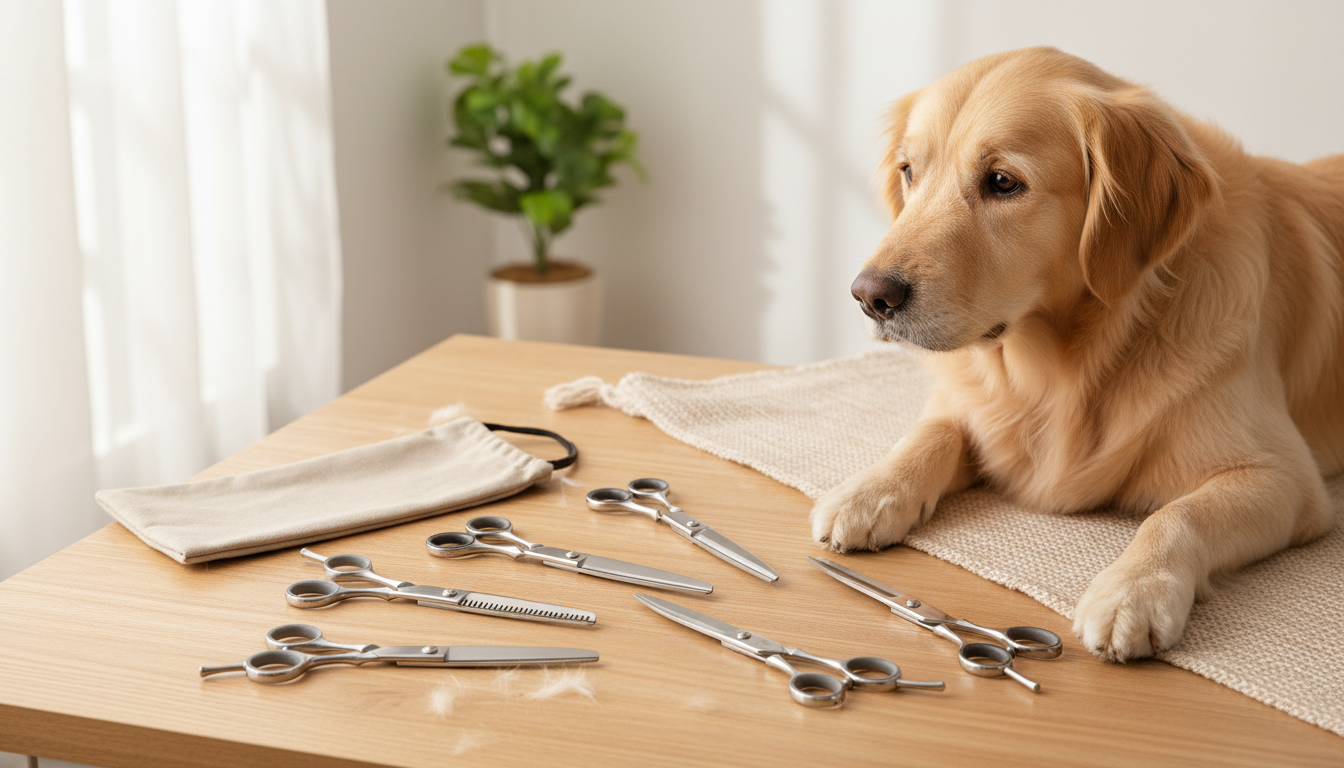
- Chunkers (Lower Tooth Count): Typically feature 15-25 widely spaced teeth. These shears remove a larger percentage of hair per snip, making them effective for:
- Aggressively reducing significant bulk from very dense coats.
- Creating textured finishes where a more noticeable thinning is desired.
- Often used for initial bulk removal before refining with a blender.
- Blenders (Higher Tooth Count): Possess 40-50+ finely spaced teeth. They remove a smaller amount of hair, resulting in a more subtle effect, ideal for:
- Seamlessly blending different coat lengths and softening harsh lines.
- Creating a natural, feathery finish.
- Refining areas like the face, ears, and legs where precision and a soft look are paramount.
- Minimizing the risk of creating noticeable "holes" in the coat.
Blade Material and Durability: What to Look For
The quality of the blade material is a significant factor in a shear's performance, durability, and edge retention.
- Stainless Steel: This is the most common material. High-quality stainless steel, often sourced from Japan or Germany, offers superior hardness and corrosion resistance.
- Hardness: Measured on the Rockwell hardness scale, a higher rating generally indicates a blade that will hold its edge longer, reducing the frequency of sharpening.
- Coatings: Some shears feature coatings like titanium or ceramic. These can enhance durability, reduce friction, and provide a smoother cutting action. Titanium coatings can also offer a hypoallergenic surface.
Size and Ergonomics: Comfort for Both You and Your Dog
The physical design of the shears impacts both the groomer's comfort and the precision of the cut, which in turn affects the dog's experience.
- Shear Length: Thinning shears typically range from 6 to 8 inches.
- Shorter shears (6-6.5 inches): Offer greater control for detailed work, smaller dog breeds, and intricate areas like paws or around the eyes.
- Longer shears (7-8 inches): Cover more surface area quickly, making them efficient for larger dogs or broader sections of a thick coat.
- Ergonomics: Features designed for comfort reduce hand fatigue and improve control. Consider:
- Handle Design: Offset handles or swivel thumbs can reduce strain on the wrist and hand.
- Finger Rings: Ensure they fit comfortably, preventing chafing or excessive pressure.
- Weight: Lighter shears can be easier to maneuver during extended grooming sessions.
Coat Type Compatibility: Matching Shears to Fur
Matching the right thinning shear to your dog's specific coat type is essential for optimal results and to avoid damaging the fur.
- Thick or Double Coats: For significant volume reduction, start with a lower tooth count "chunker" to remove bulk. Follow up with a higher tooth count "blender" to create a smooth, natural finish and blend any lines.
- Fine or Silky Coats: Use high tooth count "blenders" exclusively. These coats are prone to over-thinning, and a blender provides the gentle reduction needed without creating sparse patches.
- Curly or Wavy Coats: Blenders are excellent for softening the texture and reducing bulk without compromising the natural curl pattern. They help achieve a more natural, less "chopped" look.
- Wiry Coats: While less common for thinning, blenders can be used sparingly to soften harsh lines or blend areas where the coat transitions. Avoid aggressive thinning that could alter the coat's natural texture.
Always consider the specific needs of your dog's coat and your grooming objectives when selecting thinning shears. Starting with a versatile blender is often recommended for home groomers, as it offers a safer approach to achieving a natural, blended look.
Techniques for Effective and Safe Thinning Shear Use
Mastering thinning shears involves precision and patience, allowing you to refine your dog's coat without creating obvious cut lines. Proper technique ensures both a professional finish and your dog's safety.
Preparation: Clean Coat, Proper Brushing
Before introducing thinning shears, a clean, dry, and thoroughly brushed coat is non-negotiable. This foundational step is critical for several reasons:
- Even Application: Dirt, oil, and product residue can cause shears to snag, leading to uneven thinning and potential discomfort for your dog. A clean coat allows the shears to glide smoothly.
- Accurate Assessment: Wet hair appears longer and lays differently than dry hair. Working on a completely dry coat ensures you can accurately gauge length, texture, and volume, preventing over-thinning.
- Preventing Damage: Knots and tangles can pull on the dog's skin, cause pain, and dull or damage your shears. Thorough brushing removes loose hair and ensures the shears only encounter individual strands, not matted clumps.
Basic Thinning and Blending Motions
Effective use of thinning shears relies on a controlled grip and specific motions to achieve a blended look.
- Holding the Shears Correctly: Grip the shears with your thumb in the smaller finger hole and your ring finger in the larger one, resting your pinky on the tang for stability and leverage. This provides optimal control and reduces hand fatigue. Keep your elbow up to allow for a fluid, natural cutting motion.
- Working with the Coat: Always thin with the natural growth direction of the hair. Instead of making one deep cut, use multiple light passes. Insert the shears into the coat, gently open and close them, then pull them out slightly before the next pass. This feathered motion gradually removes hair, allowing you to assess the effect as you go. For blending, hold the shears at a slight angle (around 45 degrees) to the coat, rather than straight across, to avoid creating flat lines.
Addressing Specific Areas: Legs, Ears, Face, Body
Different body parts require tailored thinning techniques to achieve the desired aesthetic and maintain comfort.
- Legs: To reduce bulk and create a natural, cylindrical shape, work upwards from the paw, thinning the undercoat and blending the longer feathering. Avoid thinning too close to the skin on the outer layers.
- Ears: Thinning on the underside of floppy ears can reduce weight and improve air circulation. For ears with longer furnishings, use shears to blend the hair into the head, softening any harsh lines. Exercise extreme caution around the delicate ear leather.
- Face: Thinning around the eyes, muzzle, and cheeks can soften expressions and remove excess hair that might obstruct vision or collect debris. Use only the tips of the shears and work in very small, controlled sections, always pointing the tips away from the eyes.
- Body: For general bulk reduction on the torso, work in small sections, lifting the hair and thinning from the mid-shaft outwards. This reduces volume without significantly altering length. Blend any transition lines where clippers or straight shears have been used.
Safety First: Tips to Avoid Nicks and Injury
Grooming tools, especially shears, require constant vigilance to prevent accidents.
- Keeping Blades Away from Skin: Always position the toothed blade towards the dog's coat and the solid cutting blade away from the skin. Use your non-dominant hand to gently hold the skin taut or create a barrier between the shears and sensitive areas.
- Use Your Fingers as a Guard: When working near delicate zones like armpits, groin, or behind the ears, place your fingers between the shears and the dog's body. This acts as a physical barrier against accidental nicks.
- Maintain a Calm Environment: A relaxed dog is less likely to make sudden movements. Ensure your dog is comfortable, take frequent breaks, and speak in soothing tones.
- Sharp Shears are Safer: Dull shears pull and snag hair, causing pain and increasing the risk of injury as you apply more force. Regularly cleaned and sharpened shears cut cleanly and efficiently.
- Never Cut Blindly: Always ensure you can clearly see the area you are thinning. Avoid reaching into dense fur without visual confirmation of the skin's location.
- Secure Your Dog: Use a grooming arm and loop to keep your dog safely positioned and minimize unexpected shifts during the grooming process.
Common Mistakes and Maintenance for Longevity
Even the most precisely chosen thinning shears can underperform or suffer damage without proper handling and care. Understanding common pitfalls and committing to routine maintenance are crucial steps for any dog owner or home groomer looking to achieve consistent results and maximize the lifespan of their tools. Addressing these aspects proactively minimizes frustration and protects your investment.
Avoiding Over-Thinning and Patchiness
Thinning shears are designed for subtle hair removal, but improper technique can lead to an uneven or overly sparse coat. The goal is to reduce bulk and blend, not to create bald spots or noticeable lines.
- Signs of over-thinning:
- Visible "holes" or sparse patches: Areas where too much hair has been removed, creating an unnatural, gappy appearance.
- Choppy or uneven texture: Instead of a smooth blend, the coat may look disheveled or have abrupt changes in density.
- Hair standing up: If too much undercoat is removed or the topcoat is thinned excessively, the remaining hair may lose its natural lie and appear frizzy or spiky.
- Thinning lines: Distinct lines or indentations in the coat where the shears were applied incorrectly or too aggressively.
- Tips for gradual application:
- Work in small increments: Take only a few snips in an area, then brush through the coat to assess the effect before taking more.
- Use a light hand: Avoid gripping the shears too tightly or forcing them through the coat. Let the blades do the work.
- Thin from the inside out: Focus on removing bulk from the undercoat or denser sections, rather than the visible top layer.
- Angle your approach: Instead of holding the shears parallel to the skin, use them at a slight angle to create a softer, more diffused effect.
- Step back frequently: Regularly step away from the dog to view the coat from different angles and ensure an even reduction in volume. Remember, you can always remove more hair, but you cannot put it back.
The Importance of Proper Cleaning and Oiling
Neglecting your thinning shears can quickly lead to dullness, rust, and impaired functionality. Regular cleaning and lubrication are fundamental to maintaining their sharpness and smooth operation.
- Routine cleaning after each use:
- Remove all hair: Use a soft brush or a dry cloth to carefully brush away every strand of hair from between the blades, especially within the teeth of the notched blade. Hair residue can cause friction and impede proper closing.
- Wipe down blades: Use a shear-specific cleaning solution or an alcohol-based wipe to disinfect and remove any oils or debris from the blades. Ensure the blades are completely dry afterward to prevent rust.
- Check pivot point: Pay particular attention to the screw or pivot area, as hair and grime can accumulate here and affect the tension.
- Regular oiling:
- Apply shear oil: After cleaning and drying, place one small drop of professional shear oil at the pivot screw.
- Distribute: Gently open and close the shears several times to allow the oil to penetrate the pivot and coat the inside surfaces of the blades.
- Wipe excess: Use a clean, soft cloth to wipe away any excess oil from the blades and handles. This prevents oil from transferring to the dog's coat during the next grooming session and attracting dust. Oiling reduces friction, prevents corrosion, and ensures the shears open and close smoothly without binding.
Sharpening and Professional Care
Even with diligent cleaning and oiling, thinning shears will eventually lose their edge. Knowing when and how to seek professional sharpening is vital to their continued performance.
- When to get shears professionally sharpened:
- Dullness: If the shears start to pull or snag hair instead of cutting cleanly, or if you feel resistance when closing them.
- Uneven cuts: When the shears no longer produce a smooth, blended effect, leaving behind choppy or uneven results.
- Increased effort: If you find yourself needing to apply more pressure to cut, it's a clear sign the blades are dull.
- Frequency: Depending on usage, professional groomers often sharpen their shears every 6-12 months, while home groomers might extend this period. However, performance degradation is the best indicator.
- How to seek professional sharpening:
- Specialized services: Always send your thinning shears to a reputable professional sharpener who specializes in grooming tools. Standard knife sharpeners often use techniques that can damage the delicate teeth and precise angles of thinning shears, rendering them unusable.
- Mail-in services: Many professional sharpeners offer mail-in services, providing a convenient option for maintaining your tools. Research and choose a service with positive reviews and experience with grooming shears.
- Avoid DIY sharpening: Attempting to sharpen thinning shears yourself without specialized equipment and expertise is highly discouraged, as it can permanently alter the blade geometry and destroy the tool.
Frequently Asked Questions About Thinning Shears for Dog Grooming
Understanding the specific capabilities and limitations of thinning shears is crucial for any dog owner or home groomer looking to refine their grooming skills. These tools address unique challenges that other grooming instruments cannot, but their effective use requires careful consideration.
What problem do thinning shears solve better than other grooming tools?
Thinning shears excel at creating a natural, blended finish that straight shears or clippers cannot achieve. They are designed to:
- Blend coat lengths: Seamlessly transition between areas of different lengths, such as where a clipper cut meets longer hair, or to soften the edges of a styled area.
- Reduce bulk without shortening: Decrease the density of a thick coat without significantly altering its overall length or leaving a choppy appearance. This prevents a "chopped" look and helps coats lie flatter.
- Soften harsh lines: Eliminate the distinct lines left by straight shears, particularly around the face, ears, and leg feathering, for a more natural, feathered aesthetic.
- Create texture: Add a subtle, natural texture to the coat, which can be beneficial for certain breeds or styles.
Unlike straight shears, which remove a solid line of hair, or clippers, which cut uniformly, thinning shears remove only a fraction of hair with each snip due to their notched blade, making them ideal for refinement rather than primary length removal.
What use case criteria should I consider when shortlisting thinning shears?
When selecting thinning shears, consider how they will be used and the specific coat characteristics of your dog:
- Tooth Count and Spacing: This is a primary differentiator.
- Higher tooth counts (e.g., 40-46 teeth): Remove less hair per snip, creating a very soft, subtle blend. Ideal for delicate areas, fine coats, or achieving a highly natural finish. Often called "blenders."
- Lower tooth counts (e.g., 20-30 teeth): Remove more hair per snip, offering more aggressive thinning or texturizing. Suitable for very thick coats or creating distinct texture. Often called "chunkers" or "texturizers."
- Shear Length: Shorter shears (e.g., 5.5-6.5 inches) offer more control for intricate work around the face, paws, and smaller breeds. Longer shears (e.g., 7-8 inches) are efficient for larger body areas and bigger dogs.
- Blade Material and Sharpness: High-quality stainless steel maintains sharpness longer, ensuring clean cuts and reducing hair pulling. A sharp edge is crucial for effective and comfortable grooming.
- Ergonomics: Comfort is key, especially during longer grooming sessions. Consider the handle design, finger rest, and weight to ensure a comfortable grip and reduce hand fatigue.
What are the trade-offs or limitations of using thinning shears?
While invaluable, thinning shears have specific limitations:
- Not for major length reduction: They are not designed to significantly shorten a dog's coat. Attempting to use them for this purpose will be inefficient and can lead to an uneven result.
- Slower for bulk removal: While they reduce bulk, they do so gradually. For extensive bulk removal on very dense coats, clippers with appropriate guard combs might be more efficient as a first step, followed by thinning shears for blending.
- Requires technique: Improper use can lead to noticeable holes, uneven patches, or a "chewed" look in the coat. Mastering the correct angle and number of snips in one area takes practice.
- Ineffective on matted coats: Thinning shears should never be used on matted or severely tangled fur. They will snag, pull, and cause pain to the dog, and will not effectively remove the mat.
When should I use thinning shears versus straight shears or clippers?
The choice of tool depends on the specific grooming task:
- Thinning Shears: Use for:
- Blending lines created by clippers or straight shears.
- Reducing volume in thick areas (e.g., hindquarters, neck ruff) without shortening.
- Softening facial hair, ear edges, or feathering on legs.
- Creating a natural, hand-scissored look.
- Correcting minor unevenness after a primary cut.
- Straight Shears: Use for:
- Precise length removal and shaping.
- Creating defined lines and sharp finishes (e.g., poodle topknots, clean paw lines).
- Trimming specific areas where clippers are too cumbersome or risky.
- Clippers: Use for:
- Removing significant length over large body areas.
- Achieving uniform, short coat lengths.
- Removing mats (with appropriate blades and caution, or by a professional).
- Efficiently grooming dogs with very dense or difficult coats that need significant reduction.
Often, a combination of these tools is used in a single grooming session, with thinning shears serving as the refining and finishing tool.
Can thinning shears damage my dog's coat?
When used correctly, thinning shears enhance the coat's appearance and can contribute to its health by reducing density in areas prone to matting. However, improper use can indeed damage your dog's coat:
- Creating holes or unevenness: Taking too many snips in one spot, using the wrong angle, or not brushing through the coat between snips can leave noticeable divots or an unblended, patchy look.
- Snagging and breaking hair: Dull thinning shears will pull and break hair rather than cut it cleanly, causing discomfort to your dog and potentially damaging the hair shaft.
- Causing discomfort or injury: Attempting to use thinning shears on matted fur will pull painfully on the skin. Incorrect handling or accidental contact with the skin can also cause nicks or cuts.
- Altering coat texture negatively: While they are meant to create texture, incorrect technique can sometimes make the coat appear frizzy or damaged, particularly if the hair is repeatedly cut at the same point without proper blending.
To avoid damage, always ensure your shears are sharp, use a gentle hand, work on clean, dry, and detangled fur, and practice proper technique.
Your Confident Choice: Selecting the Best Thinning Shears for Your Dog
Making an informed decision about thinning shears empowers you to achieve professional-looking grooming results at home. By considering the specific needs of your dog's coat and your grooming objectives, you can confidently select a tool that will serve you well. The "best" thinning shears are ultimately those that align with your dog's unique characteristics and your desired finish.
As you finalize your choice, keep these critical factors in mind:
- Tooth Count and Aggression:
- Lower Tooth Counts (e.g., 20-30 teeth): These shears are more "aggressive," removing a larger percentage of hair with each snip. They are suitable for significant bulk reduction on very thick or dense coats where substantial thinning is required.
- Higher Tooth Counts (e.g., 40-50+ teeth): These are often called "blenders" and remove less hair per cut, creating a softer, more natural transition. They are ideal for delicate blending, softening harsh lines, and refining the finish on most coat types.
- Blade Material and Durability: The quality of the steel directly impacts the shears' sharpness retention and lifespan. Higher-grade stainless steel, often found in professional tools, offers superior edge retention and corrosion resistance, ensuring consistent performance over time.
- Ergonomics and Comfort: Consider how the shears feel in your hand. Features like offset handles, removable finger rests, and a balanced weight distribution can significantly reduce hand fatigue during longer grooming sessions, contributing to better control and precision.
Matching Shears to Your Dog's Needs:
Your dog's coat type and your specific grooming goals should be the primary drivers of your selection.
- For Thick, Bulky Coats: If your primary goal is to significantly reduce volume in a very dense coat, a thinning shear with a lower tooth count might be more efficient.
- For Blending and Softening: To create seamless transitions, remove scissor marks, or soften facial hair, a higher tooth count blending shear is the more appropriate choice.
- For Fine to Medium Coats: A versatile blending shear (higher tooth count) is generally recommended, as aggressive thinning could lead to patchy results on less dense coats.
Ultimately, your investment in thinning shears should be a thoughtful one, guided by the knowledge of what each feature offers. By prioritizing the right tooth count, durable materials, and comfortable ergonomics tailored to your dog and your grooming style, you'll gain a valuable tool that enhances your ability to achieve a beautifully groomed pet.
More in Dog Grooming Shears
View All
Dog Grooming Shears at PetSmart: Value Options for Casual Home Groomers
Compare dog grooming shears petsmart with a practical informational SEO brief, decision criteria, FAQs, and publishing checks before you commit.
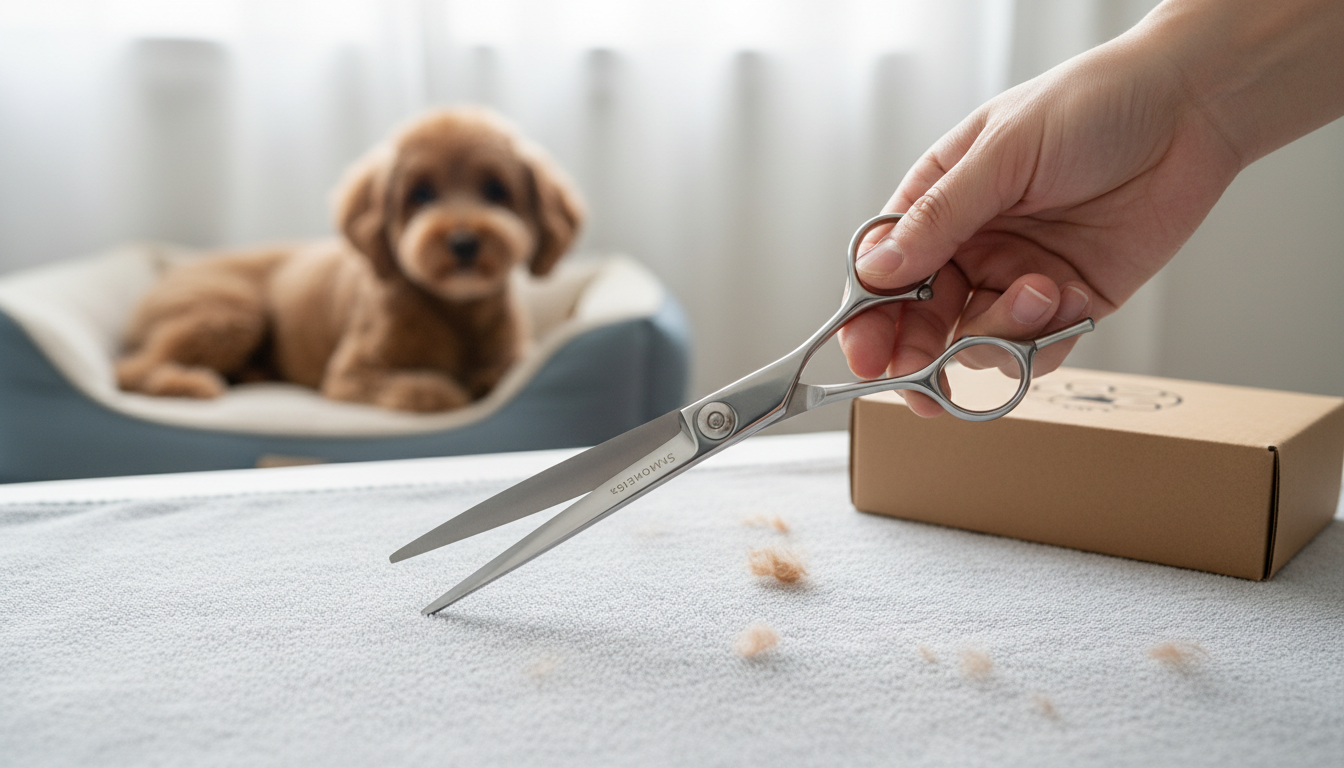
Swivel Dog Grooming Shears: Enhancing Comfort and Control for Detailed Trimming
Compare swivel dog grooming shears with a practical informational SEO brief, decision criteria, FAQs, and publishing checks before you commit.
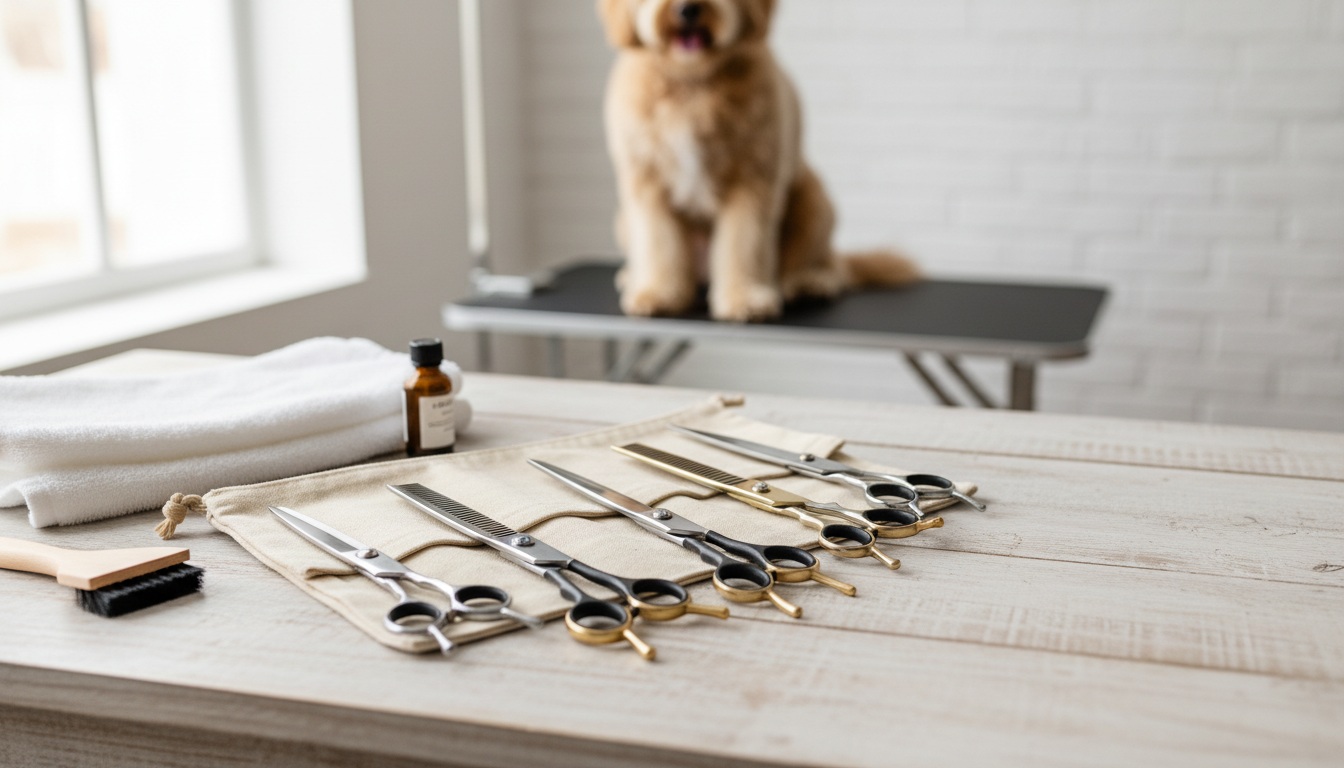
Investing in High-Quality Dog Grooming Shears: What to Look for in Professional-Grade Tools
Compare high quality dog grooming shears with a practical informational SEO brief, decision criteria, FAQs, and publishing checks before you commit.