The Art of Blending Shears in Dog Grooming: Creating Seamless Transitions and Soft Finishes
Unlock Professional Finishes: The Essential Guide to Blending Shears for Dog Grooming
For dog owners and home groomers aspiring to elevate their pet's appearance beyond a basic trim, blending shears represent a pivotal tool. Often overlooked in favor of standard cutting shears, these specialized instruments are key to transforming a good groom into a truly professional, soft, and natural-looking finish. They are not merely for removing hair but for sculpting and refining the coat, creating a seamless flow that enhances your dog's natural beauty.
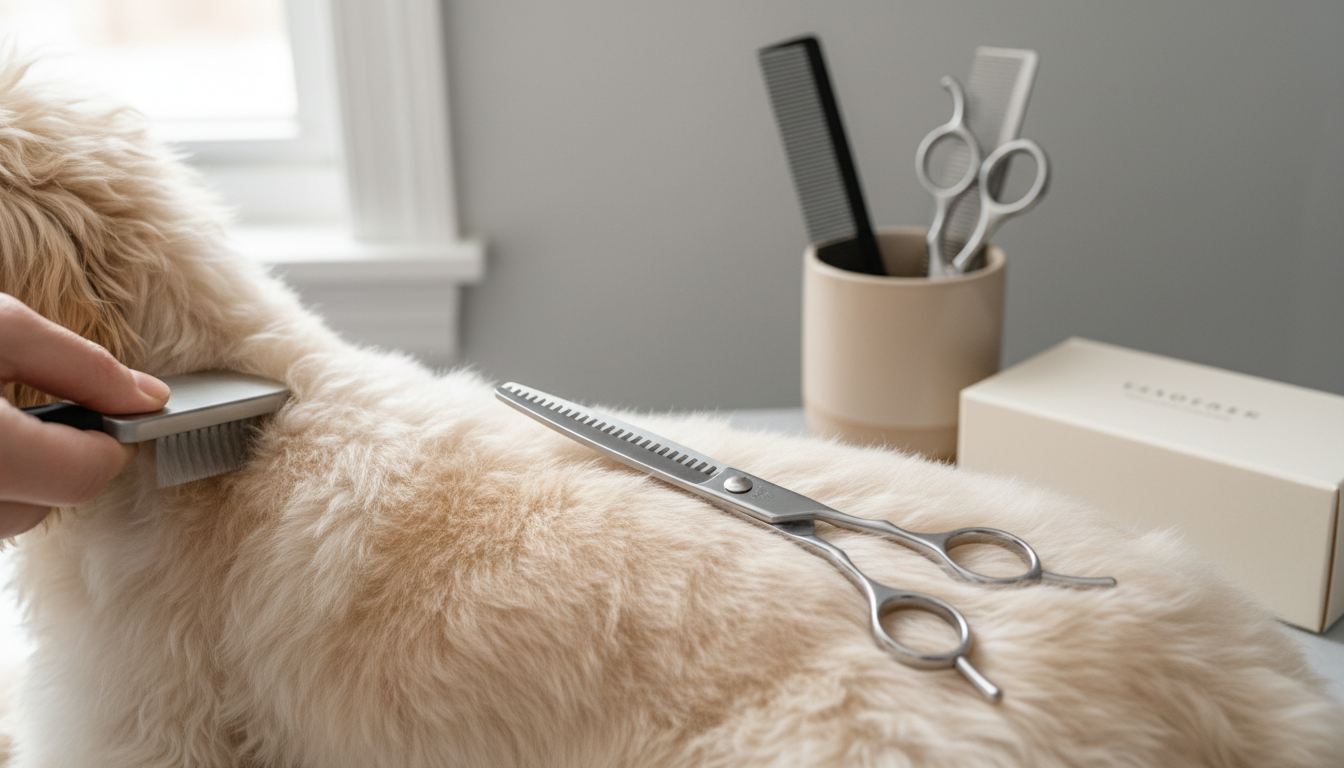
Blending shears are distinct grooming tools characterized by their unique blade configuration. Unlike traditional straight shears that cut a solid line of hair, blending shears feature a combination of a solid cutting blade and a notched or "toothed" blade. This design allows them to remove only a portion of the hair with each snip, preventing harsh lines and promoting a softer, more diffused effect. Their primary purpose is to soften abrupt transitions, reduce bulk in thicker areas, and smooth out any visible scissor marks left by other tools.
The crucial role of blending shears lies in their ability to achieve a natural-looking coat. They enable groomers to:
- Soften edges: Eliminate sharp lines around the face, ears, and paws.
- Create seamless transitions: Blend different lengths of fur, such as where clipper work meets longer scissor-cut hair.
- Reduce bulk without shortening: Thin out dense coats in areas like the hindquarters or chest, maintaining overall length while improving texture and flow.
- Refine overall shape: Contribute to a polished, sculpted appearance that mirrors salon-quality results.
While often grouped with thinning shears, blending shears are typically designed for a more aggressive bulk removal and seamless finish. General thinning shears primarily reduce density, often with finer teeth. Blending shears, particularly those referred to as "chunkers," often have wider, more spaced-out teeth, allowing them to remove more hair per cut while still avoiding lines, making them exceptionally effective for creating those coveted soft, natural blends. Understanding their unique function is the first step in mastering the art of a truly refined dog groom.
Blending Shears Demystified: Understanding Their Unique Function
Blending shears stand apart from other grooming tools due to their distinctive blade configuration, which is engineered to achieve a soft, diffused cut rather than a sharp, defined line. Unlike traditional straight shears, which feature two solid cutting blades, blending shears are characterized by having one conventional cutting blade and one blade with a series of notches or teeth. This specialized design is the key to their unique function in dog grooming.
The mechanics of a blending shear allow for selective hair removal. When the blades close, only the hairs that fall between the teeth of the notched blade are caught and cut by the solid blade. The hairs resting on the teeth remain uncut. This process means that with each snip, only a fraction of the hair in that section is removed, preventing the creation of harsh lines or choppy edges. Instead, the result is a gradual, natural-looking reduction in volume and a seamless transition between different coat lengths. This selective cutting action is what enables groomers to soften visible scissor marks, blend clipper lines, and refine the overall contour of a dog's coat.
While often broadly categorized under "thinning shears," it's helpful to understand the nuances. General thinning shears typically feature a higher tooth count (finer, more numerous teeth) and are primarily used for subtle bulk reduction, removing a small percentage of hair to lessen density without significantly altering length or shape. Blending shears, though also thinning the coat, are specifically designed with tooth spacing and blade geometry optimized for creating smooth, invisible transitions and soft finishes. They can be used more aggressively than fine thinning shears for shaping and texturizing.
A distinct type within the blending shear family are "chunkers." These shears are identifiable by their wider, more spaced-out teeth, which allow them to remove a greater amount of hair with each cut compared to finer blending or thinning shears. Chunkers are particularly effective for dogs with very thick coats where more aggressive bulk removal is needed, yet the goal remains a soft, natural appearance without any discernible lines. Their design ensures that even with significant hair removal, the coat maintains a blended, un-scissored look, making them invaluable for sculpting and finishing dense fur.
Key Features and Criteria for Choosing Blending Shears
Selecting the right blending shears is fundamental to achieving the desired soft, seamless finishes in dog grooming. Beyond a basic cut, these specialized tools require careful consideration of several characteristics that directly influence their performance and suitability for different coat types and grooming tasks. Understanding these features empowers groomers to make an informed purchase that aligns with their specific needs and artistic goals.
Tooth Count and Spacing The configuration of the notched blade is a primary determinant of a blending shear's function. Blending shears typically feature one solid cutting blade and one blade with teeth. The number of teeth and their spacing dictate how much hair is removed with each cut and the resulting finish:
- Lower Tooth Counts (e.g., 20-30 teeth): Often referred to as "chunkers" or "blenders," these shears have wider teeth spacing. They are designed for more aggressive bulk reduction, effectively removing significant amounts of hair while still preventing harsh lines. They are particularly useful for very thick coats or when transitioning between dramatically different lengths.
- Higher Tooth Counts (e.g., 40-50+ teeth): Shears with more teeth and finer spacing create a softer, more subtle blend. They remove less hair per snip, making them ideal for delicate areas, refining existing blends, or achieving an exceptionally smooth, natural finish on finer coats. A 48-tooth shear, for instance, can be aggressive enough to blend effectively while still producing a beautiful, soft result.
Blade Material and Sharpness The quality of the blade material directly impacts the shear's durability, edge retention, and cutting performance. High-quality stainless steel, often referred to as Japanese steel, is highly prized for its hardness and ability to hold a sharp edge.
- Edge Retention: Superior materials maintain their sharpness longer, ensuring consistent, clean cuts without pulling or bending the dog's hair. This is crucial for a comfortable grooming experience for the pet and a precise finish.
- Corrosion Resistance: Quality steel also offers better resistance to rust and corrosion, prolonging the life of the shears with proper care. A truly sharp blade is essential for blending, as dull blades can leave visible lines or damage the coat.
Shear Size and Length The overall length of blending shears, typically ranging from 6.5 to 8 inches, affects their maneuverability and the scope of work they are best suited for.
- Shorter Shears (e.g., 6.5-7 inches): These offer enhanced control and precision, making them excellent for intricate work around the face, ears, paws, and other delicate areas. Their compact size allows for finer detail work and tighter curves.
- Longer Shears (e.g., 7.5-8 inches): Longer blades cover more surface area with each pass, making them efficient for blending larger sections of the body on medium to large dogs. They can help achieve smooth, flowing lines across broader areas more quickly.
Ergonomics and Handle Design Comfort and reduced fatigue are paramount, especially during longer grooming sessions. The handle design significantly influences how the shears feel in hand and how they impact the groomer's wrist and fingers.
- Finger Rests: Many shears include a fixed or removable finger rest, providing additional stability and leverage while reducing strain on the little finger.
- Handle Configuration:
- Straight Handles: A traditional design where both finger holes are aligned.
- Offset Handles: The thumb hole is positioned slightly below the finger hole, promoting a more natural, relaxed hand position and reducing wrist flexion. This can significantly mitigate fatigue and repetitive strain.
- Swivel Thumbs: Some advanced designs feature a rotating thumb ring, allowing for a wider range of motion and various hand positions, further minimizing strain.
Tension Adjustment An often-overlooked but critical feature is the ability to adjust the tension between the two blades. Most quality blending shears include an adjustable screw or dial for this purpose.
- Smooth Operation: Correct tension ensures the blades glide smoothly past each other without resistance. If too loose, the blades may fold hair instead of cutting cleanly, leading to an uneven finish or pulling the dog's coat. If too tight, it can cause hand fatigue and accelerate wear on the blades.
- Customization: Adjustable tension allows groomers to fine-tune the shear's feel based on the dog's coat type (e.g., slightly tighter for dense coats) and their personal preference, optimizing cutting efficiency and comfort.
Matching Blending Shears to Your Dog's Coat Type and Grooming Needs
Selecting the appropriate blending shears is pivotal for achieving the desired finish, as different coat types and grooming objectives require distinct tools. The effectiveness of blending shears hinges on their tooth count and blade design, which dictate how much hair is removed with each snip and the resulting softness of the blend. Understanding these nuances helps home groomers make informed choices that align with their dog's specific needs, avoiding common pitfalls like uneven textures or visible cut lines.
Consider the following factors when choosing blending shears:
- Thick, Dense, or Double Coats: For breeds with substantial undercoats or very dense guard hairs, such as many Nordic breeds or Golden Retrievers, shears designed for more aggressive bulk reduction are beneficial. Look for blending shears with a lower tooth count (e.g., 20-30 teeth) or those referred to as 'chunkers'. These shears have wider, more spaced-out teeth, allowing them to remove a greater volume of hair while still creating a soft, unlined finish. They are effective for quickly reducing density without sacrificing length or creating harsh lines, which is crucial for maintaining the natural look of a double coat.
- Fine, Silky, or Delicate Coats: Breeds with fine, silky, or delicate coats, like some Spaniels or Poodles with softer textures, require a more subtle approach. Shears with a higher tooth count (e.g., 40-50+ teeth) are ideal. These blenders remove less hair per cut, allowing for a very gradual and soft blend. They minimize the risk of over-thinning or creating noticeable gaps in the coat, ensuring a seamless transition and a polished, natural appearance without visible marks.
- Curly or Wavy Coats: Blending shears are invaluable for curly and wavy coats, which can often show harsh clipper or scissor lines more prominently. For these coat types, blending shears help to soften the transition between different lengths, enhancing the natural curl pattern and creating a cohesive, sculpted look. A mid-range tooth count (e.g., 30-40 teeth) can offer versatility, providing enough cutting power to shape the coat while delivering a soft, diffused edge that complements the natural texture.
- Specific Grooming Areas: The size of the shear and its tooth count also play a role in precision for different body parts.
- Face and Ears: Smaller shears (shorter blades) with a higher tooth count are often preferred for delicate areas like the face, around the eyes, and on the ears. Their compact size allows for greater control and precision, while the higher tooth count ensures a very gentle, subtle blend that is critical for these sensitive areas.
- Legs and Body: For larger areas like the body and legs, a longer shear with a tooth count appropriate for the coat's density can improve efficiency. For bulk reduction on legs, a chunker might be used, while a higher tooth count blender could finish the blend for a smooth, flowing appearance.
The primary trade-off in selecting blending shears lies between aggressive bulk removal and ultra-fine finishing. Shears designed for significant bulk reduction will be less precise for delicate, subtle blending, and vice versa. It's important to assess your primary grooming goal for each session or area. For instance, a groomer might use a lower-tooth-count chunker to quickly reduce bulk on a thick body coat, then switch to a higher-tooth-count blender for refining the finish around the head and legs. Understanding this balance ensures you select a tool that not only performs effectively but also helps you achieve the specific aesthetic you desire for your dog's coat.
Mastering the Art of Blending: Techniques for Seamless Grooming
Achieving a professional, soft finish with blending shears requires deliberate technique and an understanding of how these specialized tools interact with the dog's coat. Moving beyond basic trimming involves a methodical approach that prioritizes control, safety, and the gradual refinement of texture.
To begin, establish a proper grip and stance for optimal control and comfort. Hold the shears with your ring finger through the larger finger hole and your thumb through the smaller thumb hole. Your pinky finger should rest on the tang (finger rest) for stability, while your index and middle fingers rest gently on the shank. This "open-handed" grip allows for fluid movement and reduces hand fatigue. Maintain a balanced, relaxed stance, keeping your elbow slightly elevated to facilitate a natural cutting angle. This posture is crucial for precision and preventing strain during longer grooming sessions.
When working with the coat, always ensure it is clean, dry, and thoroughly brushed to remove tangles. Blending shears are most effective on a well-prepared coat.
- Sectioning hair: Divide the coat into manageable sections using clips or your free hand. This allows for systematic work and prevents overlooking areas.
- Grooming direction: For general blending and softening, work with the natural lay of the coat. For more aggressive bulk removal, you might work slightly against the grain, but always with extreme caution and a light touch to avoid creating lines.
- Combing through: After each few snips, comb through the section to check your work and remove cut hair, revealing the true effect of the blending.
The core technique for avoiding harsh lines is the 'snip and pull away' motion. Instead of closing the shears completely and pulling straight out, you will:
- Insert the blending shears into the coat at the desired depth.
- Close the blades only partially, engaging the teeth with the hair.
- Immediately, as the blades are still slightly open, pull the shears away from the coat in a smooth, upward or outward motion.
This motion ensures that only a fraction of the hair is cut, creating a diffused, natural effect rather than a blunt line. Repeat this motion, overlapping your strokes slightly, to gradually reduce bulk and soften transitions.
Achieving seamless transitions is where blending shears truly shine. They are invaluable for softening the visual impact where different coat lengths meet, such as the junction between a clippered body and longer leg hair, or around the face and ears.
- Softening clipper lines: Apply the 'snip and pull away' technique along the edge of clippered areas, working from the longer hair into the shorter, to blur the demarcation.
- Blending different lengths: Use overlapping strokes to gradually transition between areas of varying hair length, ensuring there are no visible "steps" in the coat. This creates a smooth, flowing contour.
- Feathering: For areas like the skirt or ear furnishings, use light, upward strokes to create a feathered, natural appearance.
Periodically, it's important to adjust shear tension for smooth cutting and to prevent damage to the coat. The tension screw, typically located at the pivot point, controls how tightly the blades meet. If the shears feel too loose, they may fold or pull hair instead of cutting cleanly. If too tight, they will feel stiff, cause hand fatigue, and wear down the blades prematurely. The ideal tension allows the blades to close smoothly with minimal resistance, without feeling wobbly. Test by holding one blade horizontally and letting the other blade drop; it should fall about halfway before stopping.
Finally, prioritize safety considerations throughout the grooming process. Always be acutely aware of your dog's skin, especially in areas with loose skin or delicate features like ears, eyelids, and paw pads.
- Keep a finger or comb between the shears and the dog's skin whenever possible.
- Work slowly and deliberately, especially around sensitive areas.
- Ensure your shears are sharp; dull shears can pull hair, causing discomfort and increasing the risk of injury.
- Never cut towards the dog's eyes or directly at their skin.
- Take frequent breaks to assess your work and allow your dog to relax.
By mastering these techniques, you can confidently use blending shears to create beautifully soft, natural, and professional-looking finishes, transforming your home grooming into an art form.
Common Blending Shear Mistakes and How to Troubleshoot Them
Even with the right blending shears, missteps can occur, leading to less-than-ideal results or frustration. Understanding these common pitfalls and knowing how to correct them can significantly improve your grooming outcomes and build confidence.
-
Leaving Lines or 'Chop Marks' This often happens when the shears aren't moved smoothly through the coat, or if they are dull. Incorrect technique, such as taking too large a section or cutting straight across without movement, can create visible lines. Improper blade tension can also contribute, as blades that are too tight or too loose won't cut cleanly.
- Troubleshooting:
- Refine Technique: Use a light, skimming motion, moving the shears slightly with each snip. Work in small sections, angling the shears away from the coat.
- Check Sharpness: Dull blades crush hair rather than cutting it cleanly. If your shears feel like they're tearing, they likely need professional sharpening.
- Adjust Tension: The pivot screw should allow the blades to open and close smoothly with a slight, consistent resistance. Adjust until there's no wobble when fully open, but also no binding.
- Troubleshooting:
-
Pulling or Tugging Hair When blending shears pull or tug at the dog's coat, it's uncomfortable for the animal and signals a problem with the tool or technique. The primary culprits are dull blades, which can't sever the hair effectively, or incorrect tension, where hair gets caught between blades that are too loose. Sometimes, using a shear type not suited for the specific coat texture can also cause pulling.
- Troubleshooting:
- Blade Condition: Confirm blades are sharp and free of debris. Clean shears thoroughly after each grooming session.
- Tension Check: Ensure the tension screw is adjusted correctly, allowing for smooth, resistance-free movement without excessive looseness.
- Shear Suitability: For certain very fine or very coarse coats, a different tooth count or style of blending shear might be more effective at gliding through the hair without snagging.
- Troubleshooting:
-
Not Achieving Desired Blending If the coat still looks choppy or lacks a smooth transition after using blending shears, it might be due to an unsuitable shear type for the coat's density or a technique that needs refinement. Not making enough passes or failing to work with the natural lay of the hair can also prevent a seamless finish.
- Troubleshooting:
- Match Shear to Coat: A shear with a high tooth count (e.g., 40+ teeth) creates a very subtle blend, ideal for fine coats or delicate areas. Chunkers (often 15-25 teeth) remove more bulk and are better for thicker coats. Ensure your shear's tooth count aligns with the desired effect and coat type.
- Multiple Light Passes: Build the blend gradually. Instead of trying to achieve the look in one pass, make several light passes, assessing the coat after each.
- Follow Hair Growth: Always blend in the direction the hair naturally grows, allowing the cut hair to fall naturally into place.
- Troubleshooting:
-
Over-thinning or Creating Bald Spots Removing too much hair, especially in a localized area, can result in sparse patches or an uneven appearance. This often stems from aggressive use of the shears, repeatedly cutting in the exact same spot, or using a shear that removes too much hair per snip for a particular area.
- Troubleshooting:
- Work Cautiously: Remember that hair can always be removed, but not replaced. Start with fewer passes and observe the effect.
- Lift the Coat: Use a comb to lift the hair away from the skin before cutting. This ensures you're only working on the outer layers, reducing the risk of cutting too close.
- Vary Placement: Instead of cutting in the identical spot repeatedly, vary the angle and position of your cuts slightly to distribute the thinning effect more evenly.
- Troubleshooting:
-
Maintenance Issues Poor maintenance can quickly degrade the performance and lifespan of blending shears. Neglecting to clean and oil them can lead to rust, stiffness, and hair pulling. Improper sharpening by an inexperienced individual can permanently damage the specialized blades.
- Troubleshooting:
- Clean After Every Use: Remove all hair, wipe the blades with a soft cloth, and use a shear cleaner if necessary to remove product buildup.
- Oil Regularly: Apply a small drop of shear oil to the pivot screw and along the blades. This ensures smooth action and prevents corrosion.
- Proper Storage: Always store your blending shears in a protective case or pouch to prevent nicks, drops, and damage to the delicate blades.
- Professional Sharpening: When shears become dull, seek out a professional sharpener who specializes in grooming tools. Their expertise is crucial for maintaining the precise edge and geometry of blending shears.
- Troubleshooting:
Frequently Asked Questions About Blending Shears
Understanding the nuances of specialized grooming tools can help home groomers achieve more refined results. Here are common questions about blending shears, clarifying their function, application, and care.
What is the difference between thinning shears and blending shears?
While often used interchangeably, a key distinction lies in their tooth design and primary application.
- Thinning shears typically feature a higher number of finer, more closely spaced teeth on one blade. Their main purpose is to reduce the density of a coat, removing a small percentage of hair with each cut to achieve a lighter texture without significantly altering length or leaving visible lines.
- Blending shears (often referred to as chunkers or texturizers) generally have fewer, wider, and more spaced-out teeth. This design allows them to remove a larger amount of hair per snip, making them highly effective for aggressive bulk reduction, softening harsh lines, and creating seamless transitions between different coat lengths. They are designed to blend more substantial sections of hair while still preventing a choppy appearance.
Can I use blending shears on all dog coat types?
Blending shears are remarkably versatile and can be used on most coat types, though their application varies.
- They are particularly effective on thick, dense, and double coats where significant bulk reduction and softening of lines are needed, such as on Golden Retrievers, Huskies, or Bernese Mountain Dogs.
- For softer, silkier coats like those of Shih Tzus or Maltese, they can be used with a very light hand for texturizing or to gently blend areas without over-thinning.
- On wiry or coarse coats, they can help soften the overall appearance or blend clipped areas into hand-stripped sections. Always start with minimal passes and observe the effect to avoid removing too much hair.
How often should blending shears be sharpened?
The frequency of sharpening depends on several factors:
- Usage: Shears used daily will require more frequent sharpening than those used occasionally.
- Coat type: Grooming coarse or dirty coats can dull blades faster.
- Shear quality: Higher-quality steel may hold an edge longer.
- Signs of dullness: If your shears begin to pull hair, fold it rather than cut cleanly, or leave jagged edges, it's time for professional sharpening. For home groomers, annual sharpening is a reasonable starting point, but adjust based on performance. Always seek a professional sharpener experienced with grooming shears to maintain their specific edge.
Are blending shears safe for beginners?
Blending shears are generally considered a forgiving tool for beginners compared to straight cutting shears.
- Their design, which removes only a portion of hair with each snip, makes it less likely to create noticeable mistakes or harsh lines. This can build confidence as you learn.
- However, proper technique is still crucial. Beginners should start slowly, practice on less visible areas, and always prioritize the dog's comfort and safety. Understanding how to hold the shears, the correct angle, and how much hair to remove gradually is essential to prevent discomfort or an uneven finish.
How do I clean and maintain my blending shears?
Proper cleaning and maintenance are vital for the longevity and performance of your blending shears:
- After each use: Wipe the blades clean with a soft, dry cloth to remove any hair or debris. For a deeper clean, use a shear-specific cleaning spray or an alcohol wipe, then dry thoroughly.
- Lubrication: Apply a small drop of shear oil to the pivot screw area daily or weekly, depending on usage. Open and close the shears several times to distribute the oil, then wipe off any excess. This keeps the action smooth and prevents rust.
- Storage: Always store your blending shears in a protective case or pouch when not in use. Avoid leaving them loose in a drawer where they can be damaged or dull their blades by rubbing against other tools.
- Inspection: Regularly inspect the blades for nicks or damage and check the tension screw. If the shears feel too loose or too tight, adjust the screw slightly until they open and close smoothly without excessive resistance or play.
Achieving Grooming Excellence with the Right Blending Shears
Incorporating blending shears into your dog grooming routine is a definitive step towards achieving salon-quality results at home. These specialized tools transform a basic trim into an art, allowing for the creation of soft, natural-looking finishes and seamless transitions that enhance your dog's overall appearance. The ability to diffuse harsh lines, reduce bulk without sacrificing length, and sculpt the coat with a refined touch elevates grooming from a chore to a craft.
The journey to mastering this art begins with a thoughtful selection process. As you consider blending shears, remember to factor in:
- Your dog's specific coat type: Different coat densities and textures benefit from varying tooth counts and blade designs.
- Key shear features: Evaluate the number of teeth, the spacing between them, and the overall ergonomics for comfortable and effective use.
- Grooming technique: Understanding how to properly hold and maneuver blending shears is as crucial as the tool itself.
By carefully considering these elements, you empower yourself to make an informed decision. The right blending shears are not just another tool; they are an investment in your grooming skill and your dog's comfort and aesthetic. With this knowledge, you can confidently select and utilize these shears, unlocking a new level of precision and artistry in your at-home grooming endeavors.
More in Dog Grooming Shears
View All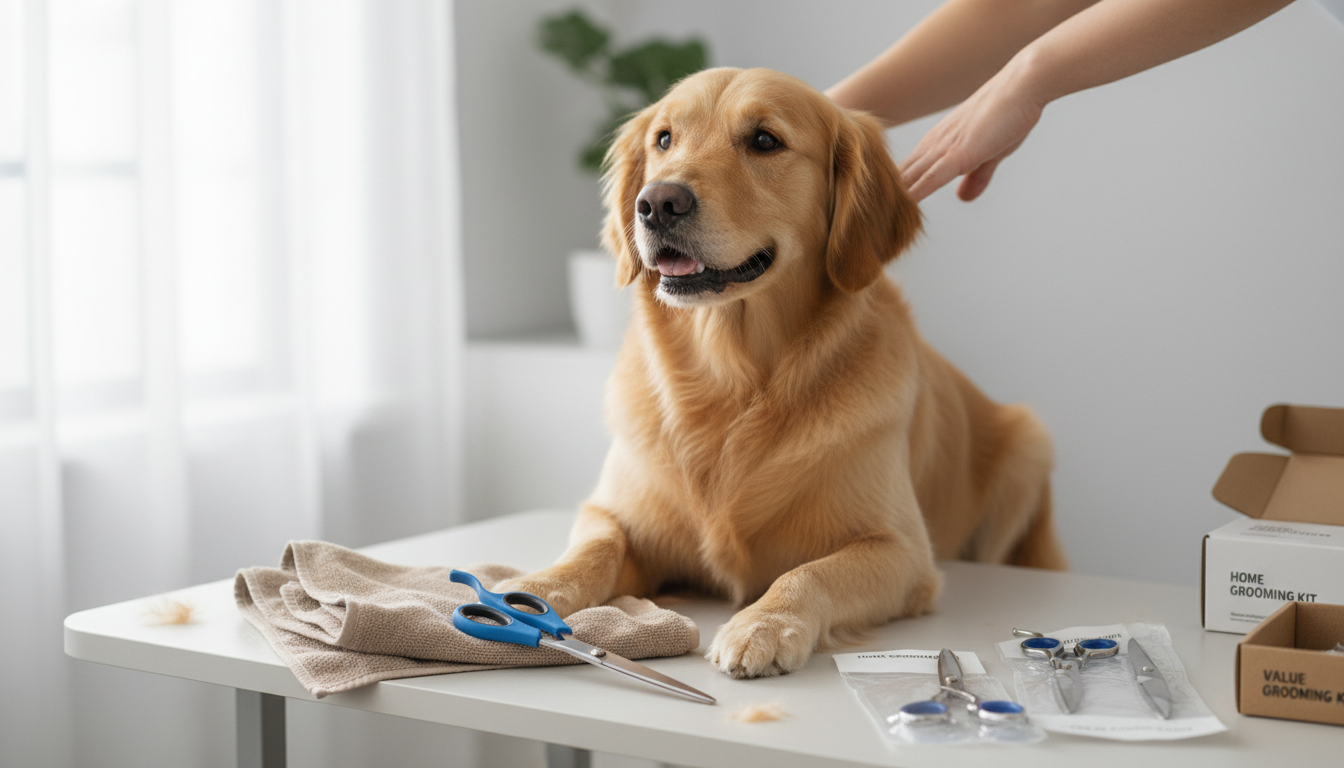
Dog Grooming Shears at PetSmart: Value Options for Casual Home Groomers
Compare dog grooming shears petsmart with a practical informational SEO brief, decision criteria, FAQs, and publishing checks before you commit.
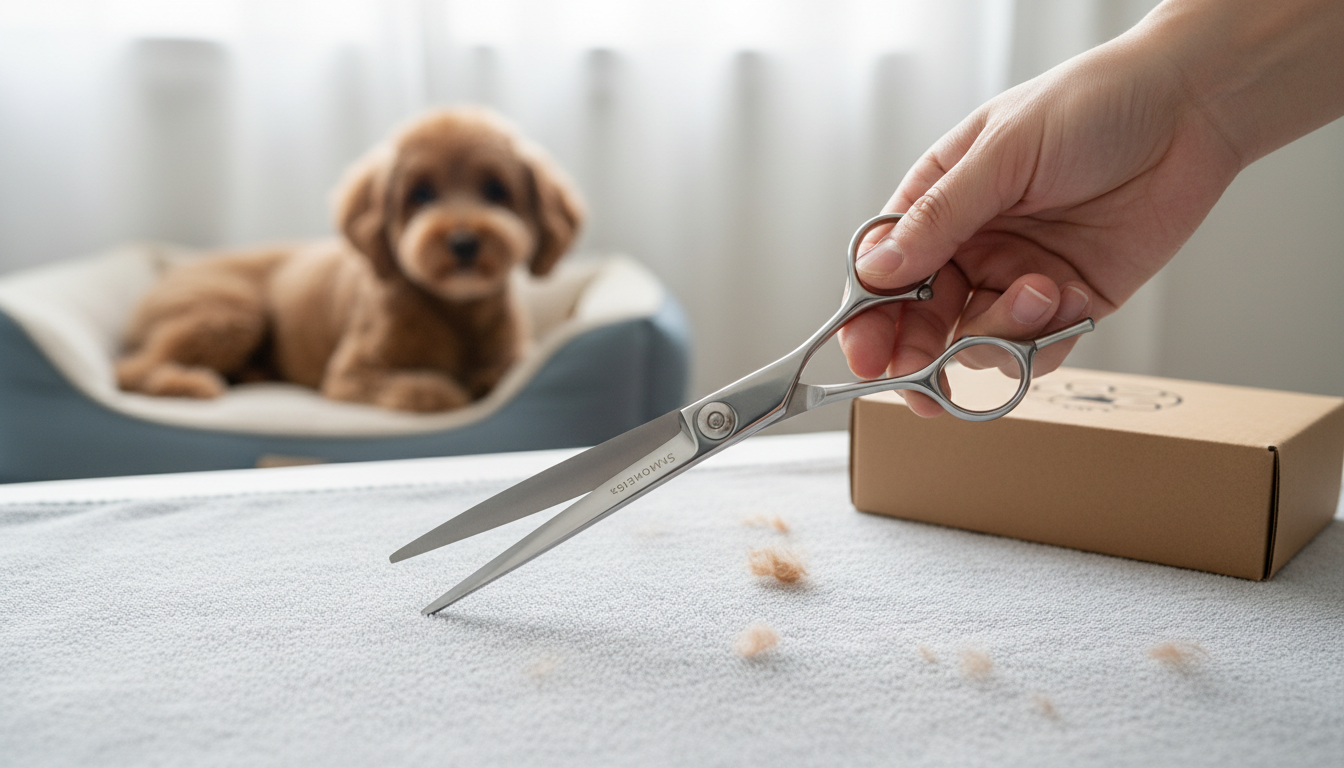
Swivel Dog Grooming Shears: Enhancing Comfort and Control for Detailed Trimming
Compare swivel dog grooming shears with a practical informational SEO brief, decision criteria, FAQs, and publishing checks before you commit.
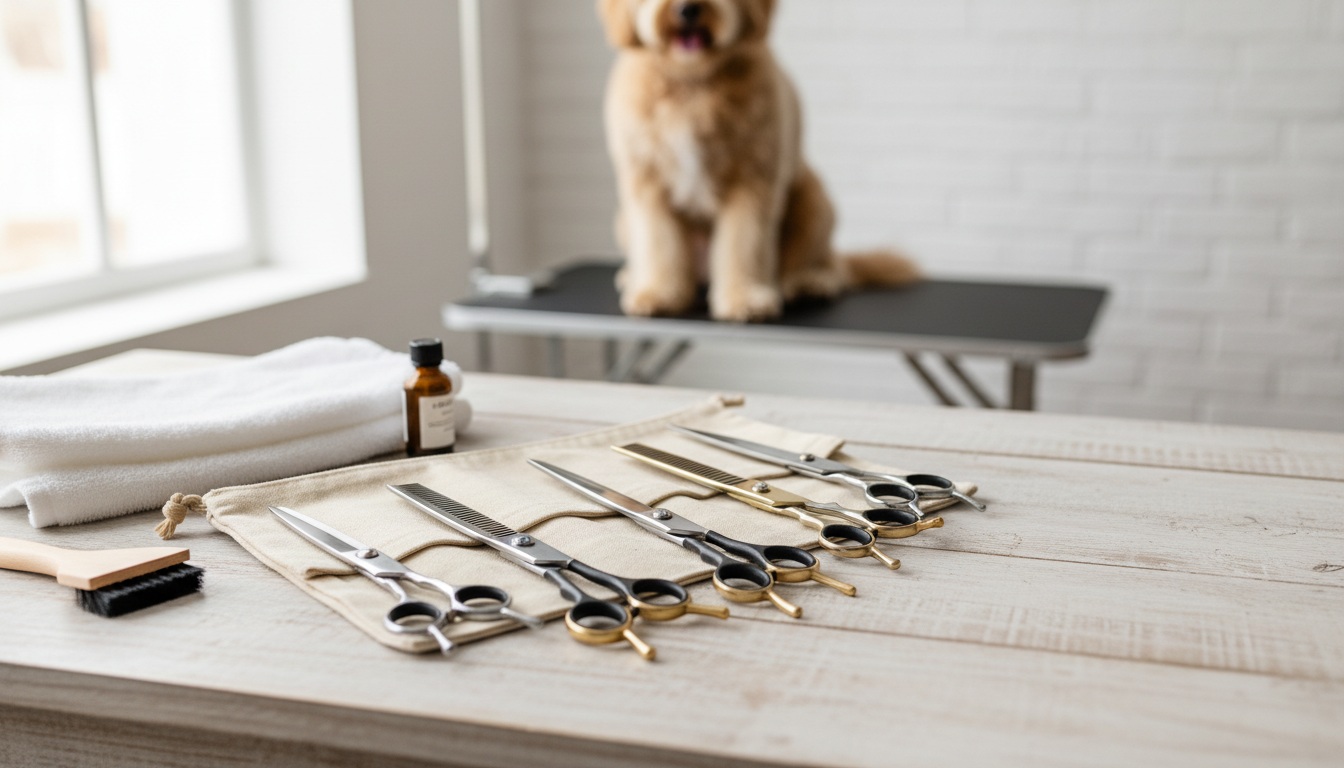
Investing in High-Quality Dog Grooming Shears: What to Look for in Professional-Grade Tools
Compare high quality dog grooming shears with a practical informational SEO brief, decision criteria, FAQs, and publishing checks before you commit.