How to Use Curved Thinning Shears for Dog Grooming: Achieving a Professional Finish
Unlock Professional Dog Grooming with Curved Thinning Shears
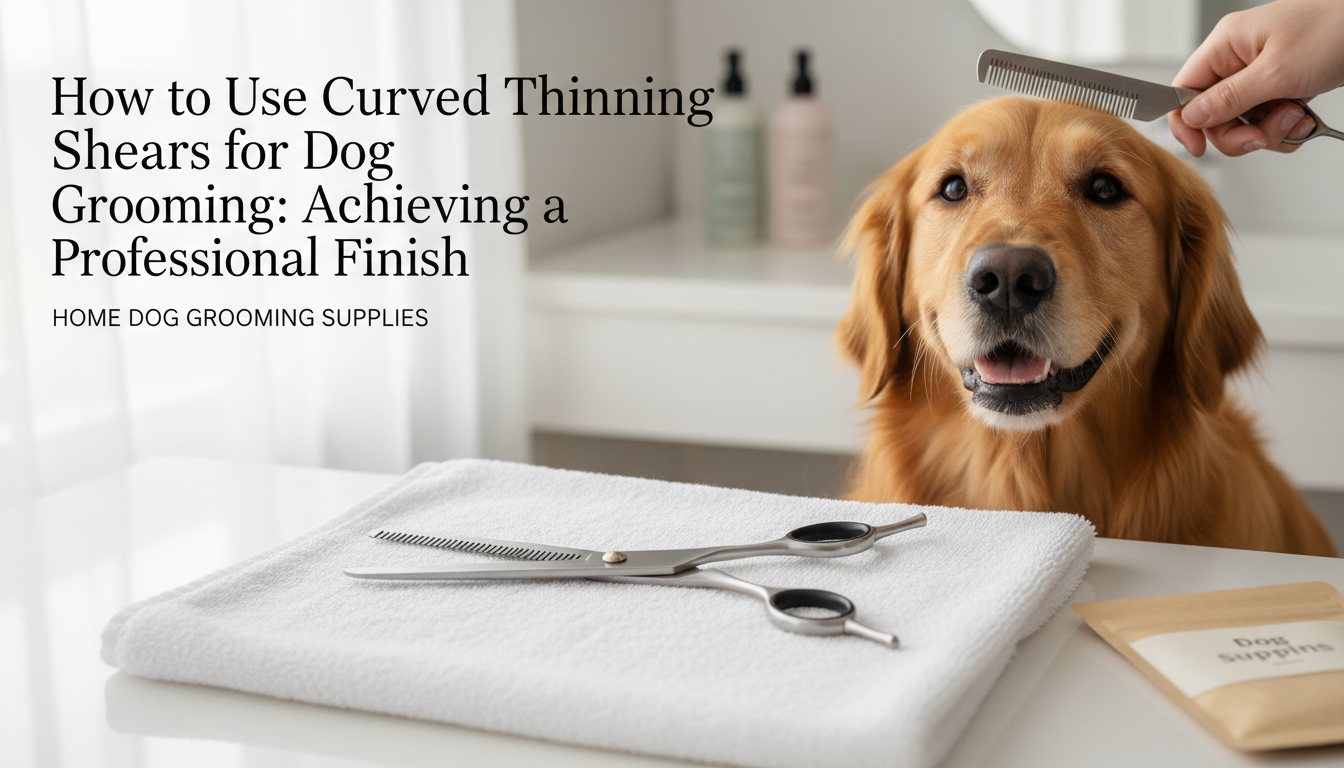
Curved thinning shears are specialized grooming tools engineered to reduce coat bulk and blend hair seamlessly, creating a soft, natural finish without leaving harsh cut lines. Unlike straight shears that remove entire sections of hair, these shears feature one bladed edge and one serrated, toothed edge, combined with an arc in the blades. This unique design allows them to remove a controlled amount of hair with each cut, while the curve facilitates precise shaping and contouring, especially around rounded body parts or for achieving flowing transitions in the coat.
For dog owners and home groomers aspiring to achieve a polished, salon-quality look, curved thinning shears are a valuable addition to their toolkit. They excel at refining styles, softening edges, and seamlessly integrating different coat lengths, which is crucial for breeds requiring sculpted finishes or natural-looking trims on areas like the head, ears, legs, and tail. This tool empowers you to tackle detailed grooming tasks and enhance your dog's appearance with greater precision and artistry.
This article aims to equip you with the knowledge to understand the unique benefits of curved thinning shears, evaluate your specific grooming needs, and confidently select the right pair for your dog's coat type and desired style. We will also provide practical guidance on their effective use, helping you achieve a professional finish at home.
Beyond Straight: The Unique Advantages of Curved Thinning Shears
For home groomers aiming for a refined, natural finish, curved thinning shears offer distinct benefits that go beyond the capabilities of other grooming tools. Their unique design, combining a curved blade with a toothed edge, allows for specialized shaping and blending that straight or traditional thinning shears cannot easily replicate. Understanding these distinctions is key to achieving a truly professional look for your dog.
Compared to straight shears, which are designed for creating sharp lines and removing significant lengths of hair, curved thinning shears excel at softening transitions. Straight shears can leave noticeable cut marks, making it challenging to achieve a flowing, natural appearance, especially on contoured body parts. Curved thinning shears, by contrast, remove a small percentage of hair with each cut while simultaneously following the dog's natural body lines, preventing harsh, choppy results and ensuring a seamless blend.
When contrasted with regular thinning shears (which typically have straight blades), the curved variant introduces a critical element: contouring. While standard thinning shears are excellent for general bulk reduction and texturizing, their straight form can make it difficult to work around curves without creating flat spots or unevenness. Curved thinning shears, however, are purpose-built to navigate rounded areas, allowing for precise shaping and sculpting. This means you can reduce bulk and blend at the same time, maintaining the natural silhouette of the coat.
The primary advantage of these specialized shears lies in their ability to create a softer, more organic aesthetic. By removing hair in a diffused manner and conforming to the dog's anatomy, they achieve a blended finish that appears less "groomed" and more naturally sculpted. This solves a common problem for home groomers: how to achieve a polished, contoured look without the tell-tale signs of an amateur cut.
Specific applications where curved thinning shears prove invaluable include:
- Shaping Facial Areas: Gently refining hair around the eyes, muzzle, and ears for a soft, expressive look.
- Contouring Feet: Creating neatly rounded paws without harsh edges.
- Developing Rounded Looks: Sculpting topknots, ear fringes, or the overall silhouette of breeds requiring a fluffy, rounded appearance.
- Seamless Transitions: Blending different coat lengths, such as where the body meets the legs or neck, to avoid visible lines.
- Finishing Tails: Feathering and shaping the tail for a natural flow.
By leveraging these shears, home groomers can achieve a level of detail and artistry that elevates their dog's appearance, moving beyond basic trims to truly professional-quality blends and shapes.
Achieving a Flawless Finish: Step-by-Step Guide to Using Curved Thinning Shears
Mastering curved thinning shears involves a blend of preparation, precise technique, and patience. By following a structured approach, you can confidently use these tools to achieve a smooth, blended, and professional-looking finish on your dog's coat at home.
Essential Preparation
Before picking up your shears, proper preparation of your dog's coat is paramount for safety and optimal results.
- Clean and Dry Coat: Always start with a freshly bathed and thoroughly dried coat. Dirt, oils, and moisture can dull your shears and cause hair to clump, leading to uneven cuts or pulling.
- Thorough Brushing: Brush your dog's coat meticulously to remove any tangles, mats, or loose hair. This ensures the hair lies naturally and allows the shears to glide through smoothly without snagging. A well-brushed coat reveals its true length and texture, guiding your trimming decisions.
Grip, Posture, and Basic Technique
Your control over the shears directly impacts the outcome.
- Proper Grip: Hold the shears with your ring finger in the smaller finger hole and your thumb in the larger one. Your index and middle fingers should rest on the shank for stability. This grip provides maximum control and reduces hand fatigue.
- Stable Posture: Maintain a comfortable, balanced stance. Keep your arm relaxed and use your body to move around the dog, rather than twisting your wrist or shoulder. This promotes steady cuts and reduces the risk of accidental nicks.
- Scissoring Angle: For blending and softening lines, hold the curved thinning shears parallel to the coat's surface, or at a slight angle. Avoid cutting straight across the hair as you would with straight shears, which can create harsh lines.
- Direction of Cut: Always cut with the natural lay or growth direction of the coat. Cutting against the grain can disrupt the coat's texture and lead to an unnatural appearance.
- Layering for Blending: Instead of attempting to remove a lot of hair in one pass, work in small sections. Make multiple, light passes, allowing the teeth of the shears to remove a controlled amount of hair with each snip. This builds up a blended effect gradually.
Specific Application Areas
Curved thinning shears are invaluable for refining various parts of your dog's body.
- Face (Muzzle, Brows): For delicate areas like the muzzle or to soften harsh brow lines, use the tips of the shears with extreme caution. Always place your free hand or a comb between the shears and the dog's skin to act as a barrier.
- Ears: To blend feathering or reduce bulk on the ears, follow the natural curve and growth direction of the hair. Use light, upward strokes.
- Paws: For tidying up around the paw pads and blending the hair on top of the paws, the curve helps follow the natural contours. Lift the hair with a comb and snip only the tips that extend beyond the desired shape.
- Legs: To create a smooth, contoured look on the legs, work in small sections, blending the hair to achieve a natural flow from the body.
- Body Contouring: For a seamless transition between different coat lengths or to reduce overall bulk while maintaining a natural silhouette, use the shears to follow the dog's body shape, making light, overlapping passes.
Safety and Progressive Trimming
Prioritizing your dog's safety and comfort is non-negotiable.
- Avoid Skin Nicks: The primary rule is to always be aware of where your dog's skin is. Use a fine-toothed metal comb as a guide and a protective barrier, especially in sensitive areas. Place the comb under the hair you intend to trim, lifting it away from the skin, and cut above the comb.
- Work Patiently and Slowly: Rushing can lead to mistakes and stress for your dog. Take breaks if needed, and ensure your dog remains calm throughout the process.
- Start with Minimal Trimming: It is always easier to remove more hair than to fix an over-trimmed area. Begin by taking off a small amount, step back to assess, and then remove more as necessary. This approach allows you to build up to the desired finish gradually, reducing the risk of an uneven or overly short cut.
Selecting the Right Tools: What to Look for in Curved Thinning Shears
Choosing the right curved thinning shears is a pivotal step toward achieving professional-quality grooming results at home. The ideal pair will align with your dog's specific coat type, your grooming goals, and your personal comfort. Evaluating key features will help you make an informed purchase that supports effective blending and shaping, rather than hindering it.
Consider the following criteria to guide your selection:
- Blade Material and Durability: High-quality stainless steel, often Japanese or German steel, is paramount for curved thinning shears. This material ensures the blades retain their sharpness over time, resist corrosion, and provide a clean, consistent cut. Lesser quality steel dulls quickly, leading to pulled hair and a frustrating grooming experience. Your shortlist should prioritize shears made from robust, high-carbon stainless steel for longevity and performance.
- Blade Length and Curve Radius: The length of the shear and the degree of its curve should be chosen based on your dog's size and the specific areas you intend to groom.
- Shorter blades (e.g., 5-6 inches) with a tighter curve are excellent for detailed work on smaller dogs or intricate areas like paws, faces, and ears, where precision is key.
- Longer blades (e.g., 6.5-8 inches) with a broader curve are more suitable for larger dogs or for blending larger body sections, allowing for more efficient coverage.
- The use case criteria of dog size and area of focus (e.g., tight contours vs. broad blending) materially change the ideal blade length and curve radius.
- Tooth Count and Pattern: This feature directly impacts the amount of hair removed and the finish achieved.
- Higher tooth counts (e.g., 40-50+ teeth) remove less hair per cut, creating a very fine, soft blend and are ideal for delicate texturizing or finishing work on fine or sparse coats.
- Lower tooth counts (e.g., 20-30 teeth) remove more hair, making them effective for debulking thicker coats or creating a more noticeable, yet still blended, reduction in volume.
- The pattern of the teeth (e.g., straight, V-shaped, or micro-serrated) also influences how smoothly the hair is caught and cut. Your dog's coat density and your desired blending effect are critical use case criteria here.
- Handle Design and Ergonomics: Comfort is essential for preventing hand fatigue during grooming sessions.
- Look for handles that fit your hand size, with smooth, rounded edges.
- Offset handles position the thumb and finger holes at different levels, often reducing strain on the wrist and thumb.
- Opposing handles have finger holes directly across from each other, which some groomers prefer for a more traditional feel.
- Integrated finger rests provide additional support and control. The length of your grooming sessions and your hand comfort preferences are key use case criteria.
- Adjustable Tension Screw: A well-designed tension screw allows you to customize the shear's tightness. This is crucial for adapting to different coat types – a looser tension might work for fine hair, while a slightly tighter setting could be better for thick, coarse coats. Proper tension ensures smooth operation and prevents hair from folding or being pulled.
- Handedness: Shears are specifically designed for right-handed or left-handed users. Using shears designed for the incorrect hand can lead to discomfort, poor cutting performance, and increased risk of injury. Ensure you select a pair explicitly made for your dominant hand.
- Coat Type Compatibility: The features of your curved thinning shears should directly align with your dog's coat.
- For thick, dense, or double coats, prioritize shears with a lower tooth count for more effective bulk removal, combined with durable steel.
- For fine, silky, or sparse coats, higher tooth counts will provide the subtle blending needed without over-thinning.
- Curly or wavy coats benefit from shears that can gently reduce volume and define shape without creating frizz, often requiring a moderate tooth count.
- The specific texture and density of your dog's fur is a primary use case criterion that dictates the optimal tooth count and blade strength.
Avoiding Grooming Mistakes and Maintaining Your Curved Thinning Shears
While curved thinning shears are powerful tools for achieving a professional finish, their specialized nature means that proper technique and diligent care are crucial. Understanding potential pitfalls and committing to routine maintenance will safeguard your dog's coat, extend the life of your shears, and ensure a positive grooming experience.
Navigating Common Grooming Pitfalls
The unique design of curved thinning shears, while advantageous for blending and shaping, can also lead to specific challenges if not used thoughtfully. Recognizing these common errors can help you avoid them.
- Over-thinning: A frequent mistake is removing too much hair too quickly. Curved thinning shears are designed for gradual reduction and blending. Repeated passes in the same spot, or using shears with a very high hair removal rate, can create sparse patches or an uneven texture. Always start conservatively and assess the coat after each pass.
- Cutting Too Deep: The curve of the blade can sometimes deceive the eye, making it seem like you're working further away from the skin than you actually are. This increases the risk of nicking the skin, especially in sensitive areas or on dogs with loose skin. Maintain constant awareness of the blade's proximity to the skin.
- Improper Angle: For effective blending, curved thinning shears should ideally be used with the curve following the natural contours of the dog's body. Using them at an awkward or incorrect angle can result in choppy lines, uneven blending, or an unnatural finish that defeats the purpose of the curved design.
- Dull or Dirty Shears: Attempting to groom with shears that are dull or clogged with hair and debris can pull and snag the dog's coat, causing discomfort and damage to the hair shafts. Dull blades require more force, increasing the risk of accidents, while dirty shears can harbor bacteria.
Understanding Trade-offs and Limitations
Curved thinning shears are an excellent addition to a grooming kit, but they are not a universal solution. Recognizing their specific role and inherent limitations is key to effective grooming.
- The Learning Curve: Mastering the use of curved thinning shears, particularly in conjunction with their thinning function, requires practice. Achieving seamless blends and precise shaping takes time and patience, especially for home groomers new to specialized tools.
- Initial Investment: Quality curved thinning shears represent an investment. While durable shears offer long-term value, the upfront cost can be a consideration. Opting for cheaper, lower-quality alternatives often leads to frustration, poor results, and a shorter lifespan for the tool.
- Specialized, Not Universal: These shears are designed for blending, softening lines, and contouring. They are not intended for bulk hair removal, creating sharp lines, or performing the primary cut. Relying solely on curved thinning shears for an entire groom will likely yield unsatisfactory results and can damage the shears. They complement, rather than replace, straight shears and other grooming tools.
- Coat and Style Fit Limits: While versatile, certain extreme coat types (e.g., extremely dense double coats requiring significant undercoat removal) or specific styles (e.g., very short, uniform cuts) might benefit more from other tools or specialized thinning shears with different tooth counts.
Extending Shear Lifespan Through Maintenance
Proper care is paramount for maintaining the performance and longevity of your curved thinning shears. Neglecting routine maintenance can quickly degrade their cutting ability and lead to premature wear.
- Clean After Each Use: Immediately after each grooming session, use a soft cloth or brush to remove all hair, dander, and debris from the blades, pivot screw, and especially between the teeth. Accumulated hair can interfere with smooth operation and dull the edges.
- Regular Oiling: Apply a small drop of shear oil to the pivot screw area after cleaning. Open and close the shears several times to distribute the oil, then wipe off any excess. This keeps the action smooth, reduces friction, and prevents rust.
- Correct Storage: Always store your curved thinning shears in a protective case or pouch when not in use. This prevents accidental drops, nicks to the blades, and exposure to moisture or dust. Never toss them loosely into a drawer with other tools.
Professional Sharpening and Replacement
Even with meticulous care, the sharp edges of your shears will eventually dull. Knowing when to seek professional sharpening or consider replacement is vital.
- When to Sharpen: You'll notice a decline in performance when your shears start pulling or bending hair instead of cleanly cutting it. If they feel like they're "chewing" the coat or leaving ragged ends, it's time for professional sharpening. Attempting to sharpen them yourself with standard tools can irrevocably damage the specialized edges.
- Seeking Professional Services: Always send your curved thinning shears to a reputable professional sharpener who specializes in grooming shears. These experts have the correct equipment and knowledge to maintain the precise angles and tension required for optimal performance without compromising the blade's integrity or curve.
- Recognizing When to Replace or Upgrade: There comes a point when sharpening can no longer restore a shear's performance, perhaps due to significant nicks, corrosion, or excessive wear. If your shears are consistently failing to perform even after professional sharpening, or if your grooming skills and needs have evolved beyond what your current tools can offer, it may be time to invest in a new pair.
Your Curved Thinning Shears Questions Answered
Understanding the nuances of curved thinning shears can help clarify their role in your grooming routine and guide your purchasing decision. Addressing common queries ensures you select the right tool for your dog's specific needs and use it effectively.
-
Are curved thinning shears suitable for all dog breeds and coat types? Curved thinning shears are highly versatile and beneficial for many breeds, particularly those with medium to long coats that require blending, softening, or contouring. They excel on fluffy, curly, or wavy coats where a natural, seamless finish is desired. However, for very short, smooth coats (like a Boxer's) or extremely dense, corded coats, their utility might be limited compared to other tools. Their primary strength lies in creating soft transitions and reducing bulk without leaving harsh lines, making them a valuable asset for most domestic grooming tasks.
-
Can I use them on matted or tangled fur? No, curved thinning shears should never be used on matted or severely tangled fur. Attempting to thin matted hair will pull painfully on your dog's skin, cause discomfort, and can severely damage the shear blades. Mats and tangles must first be carefully brushed out or, if too severe, safely removed with straight shears or clippers before any thinning or blending work can begin.
-
How often should I use curved thinning shears on my dog? The frequency of use depends on your dog's coat growth rate, the desired style, and how quickly the blended areas lose their shape. For most dogs, incorporating curved thinning shears into a regular grooming schedule—typically every 4 to 8 weeks—is sufficient. This allows you to maintain the desired length, blend new growth, and keep the coat looking tidy and natural without over-thinning. Observe your dog's coat to determine the optimal interval.
-
What's the difference between blenders and thinning shears? While often used interchangeably, "blenders" are generally a specific type of thinning shear. Traditional thinning shears typically have fewer teeth (e.g., 20-30 teeth) that are more widely spaced, designed to remove a greater percentage of hair and reduce significant bulk. Blenders, or texturizing shears, have a higher tooth count (e.g., 40-60+ teeth) that are more closely spaced, removing a smaller percentage of hair per cut. This results in a softer, more subtle blend and texture, making them ideal for finishing work and creating very natural transitions. Curved blenders combine this fine tooth pattern with a curved blade for contouring.
-
Do I still need other types of grooming shears if I have curved thinning shears? Yes, curved thinning shears are specialized tools and are best used as part of a comprehensive grooming kit. They are excellent for blending and softening, but they do not replace the need for other shear types:
- Straight shears: Essential for removing significant length, creating clean lines, and performing precise cuts.
- Curved shears (non-thinning): Used for shaping and contouring specific areas, such as rounded heads, feet, or tails, where a solid, defined curve is desired. Each shear type serves a distinct purpose, and having a selection allows you to tackle various grooming tasks effectively and achieve a truly professional finish.
Final Considerations: Investing in the Right Curved Thinning Shears for Your Dog
Curved thinning shears represent a strategic upgrade for any home groomer aiming to elevate their dog's appearance. Their unique design allows for precise blending, effective bulk reduction without harsh lines, and seamless contouring, particularly around the natural curves of a dog's body. This specialization results in a polished, professional finish that traditional straight shears or basic thinning tools often cannot achieve.
These specialized shears are most beneficial for pet owners and home groomers who seek to refine their dog's look, achieve specific aesthetic results, or maintain a natural, flowing coat style. If your goal is to soften transitions, add texture, or expertly shape areas like the head, ears, legs, or tail, curved thinning shears are an invaluable addition to your grooming kit. They empower you to move beyond basic trims to artistry, delivering a salon-quality appearance from the comfort of your home.
Before making a selection, consider your individual grooming environment and your dog's specific characteristics. Evaluating these factors ensures you choose a tool that genuinely meets your needs and enhances your grooming experience:
- Your Dog's Coat Type: Consider the density, texture, and length of your dog's fur. Thicker, denser coats might benefit from shears with a lower tooth count for more aggressive bulk removal, while finer coats may require a higher tooth count for subtle blending.
- Desired Grooming Style: Reflect on the specific looks you aim to achieve. If intricate shaping and natural blending are priorities, a quality curved thinning shear is essential.
- Grooming Frequency and Skill Level: If you groom frequently, investing in durable, high-quality shears can be a cost-effective choice. Beginners might prioritize shears that offer a forgiving blend, while experienced groomers might seek more precise control.
- Budget: While quality tools are an investment, various options exist. Balance durability, material quality, and ergonomic design with your financial comfort.
By aligning the unique capabilities of curved thinning shears with your specific grooming goals and your dog's coat requirements, you can confidently select a tool that will provide a rewarding and effective grooming experience. A well-chosen pair not only simplifies the task but also contributes to consistently achieving that desired professional finish.
More in Dog Grooming Shears
View All
Dog Grooming Shears at PetSmart: Value Options for Casual Home Groomers
Compare dog grooming shears petsmart with a practical informational SEO brief, decision criteria, FAQs, and publishing checks before you commit.
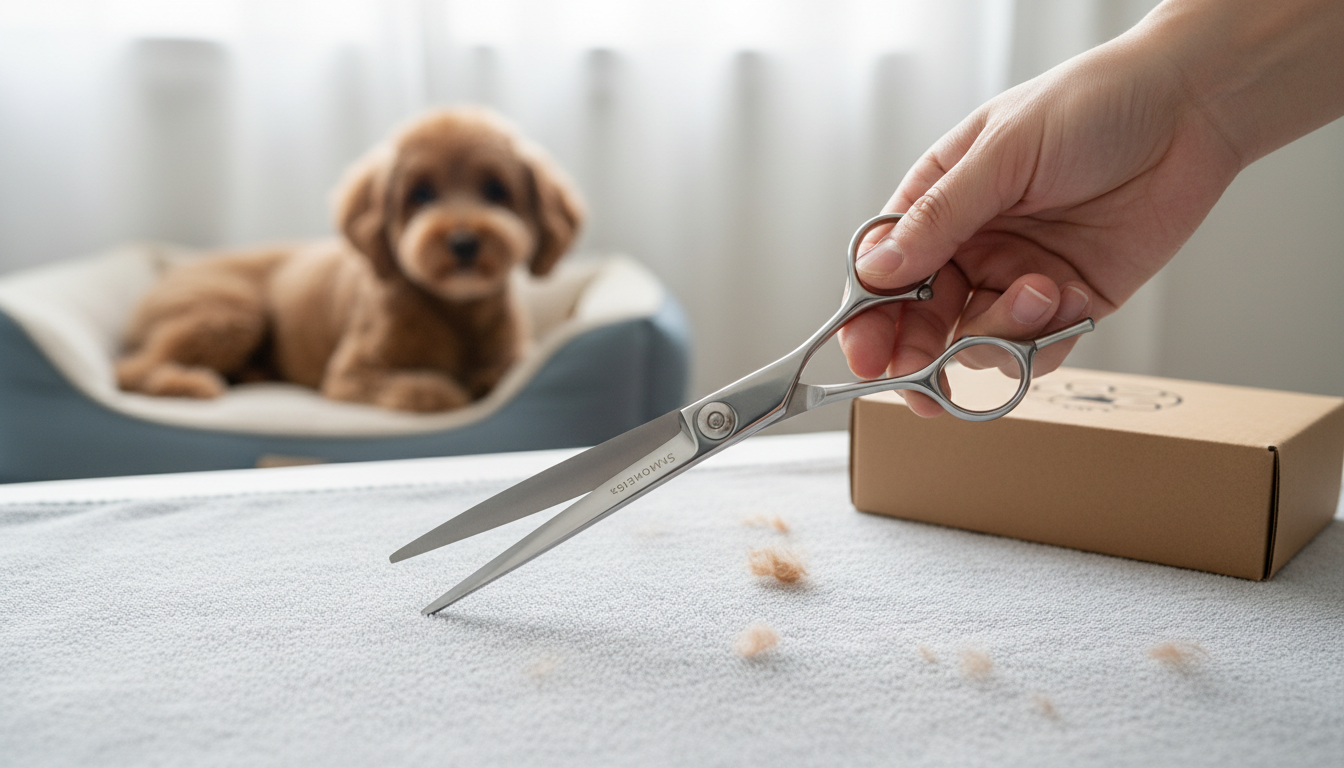
Swivel Dog Grooming Shears: Enhancing Comfort and Control for Detailed Trimming
Compare swivel dog grooming shears with a practical informational SEO brief, decision criteria, FAQs, and publishing checks before you commit.
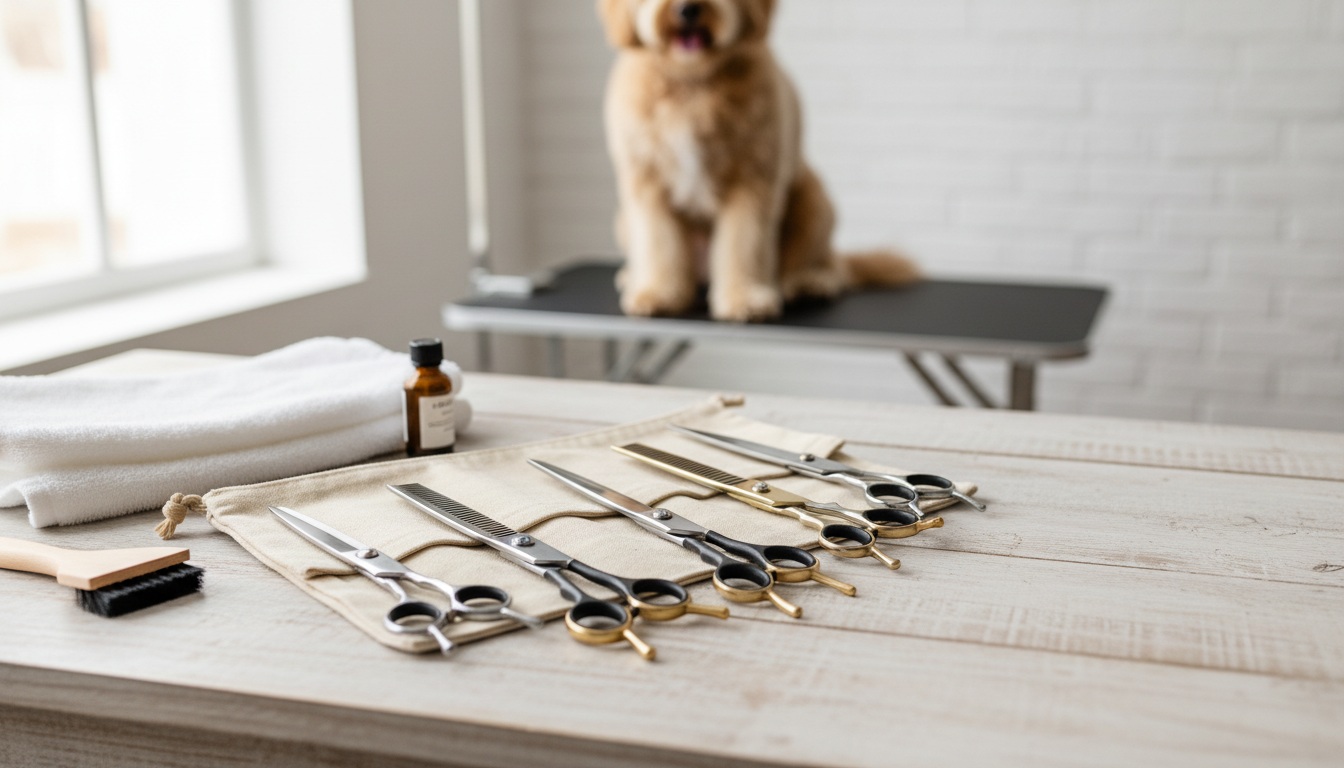
Investing in High-Quality Dog Grooming Shears: What to Look for in Professional-Grade Tools
Compare high quality dog grooming shears with a practical informational SEO brief, decision criteria, FAQs, and publishing checks before you commit.